3, 2, 1 Go!
Newsletter
Create Campaigns In 3 Steps
The Campaigns' module is one of the last steps before you are ready to send a newsletter. Below, you will be introduced to the most important tasks step by step.
1. Campaigns
The Campaigns' module is divided into three sections. In the first step, you set up the basics of your campaign, like the targeted audience. In the second step, you choose the email you want to send. Furthermore, you select all the information that will later be visible in the users' mailbox. In the last step, you finally send your email.
How to
Set Up Campaigns
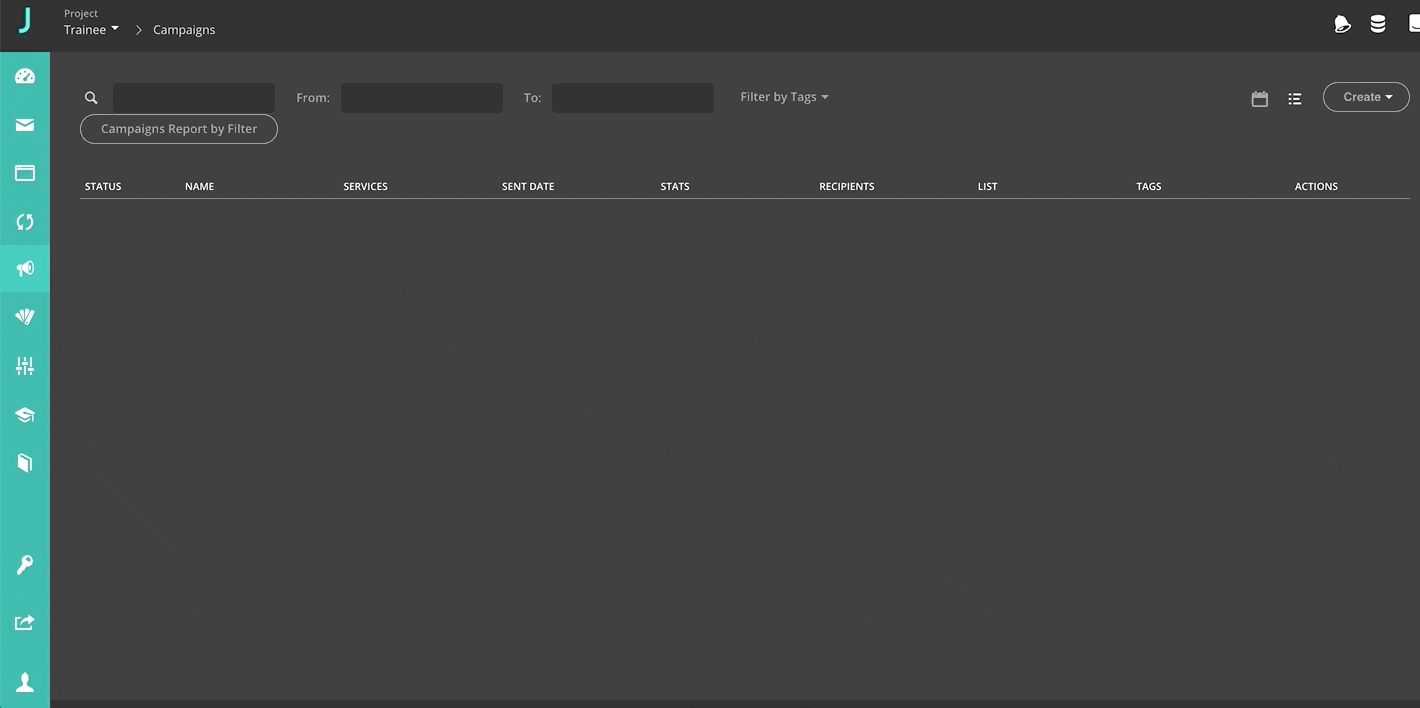
- Open the Campaigns' module on the left sidebar.
- Now click on 'Create' at the top right and select 'Email Campaign'.
- A new menu with three steps will open automatically.
- Enter the desired name of your campaign under 'Set Up'.
- In the drop-down menu, select the email list that contains your target group and that should be linked to the campaign.
Attention: Keep in mind that your email list must be stored in the same project as your campaign. - If you have previously segmented the recipients, you can also select a segment here.
2. Content
Now it's about the content of the campaign. In the second step, you specify all the information that will be visible in your users' mailbox. This includes an exciting subject line that teases your content, but doesn't reveal too much. Furthermore, the name and e-mail address of the person sending the mail should be entered, as well as the data of the person who is responsible for queries.
How to
Add Campaign Content
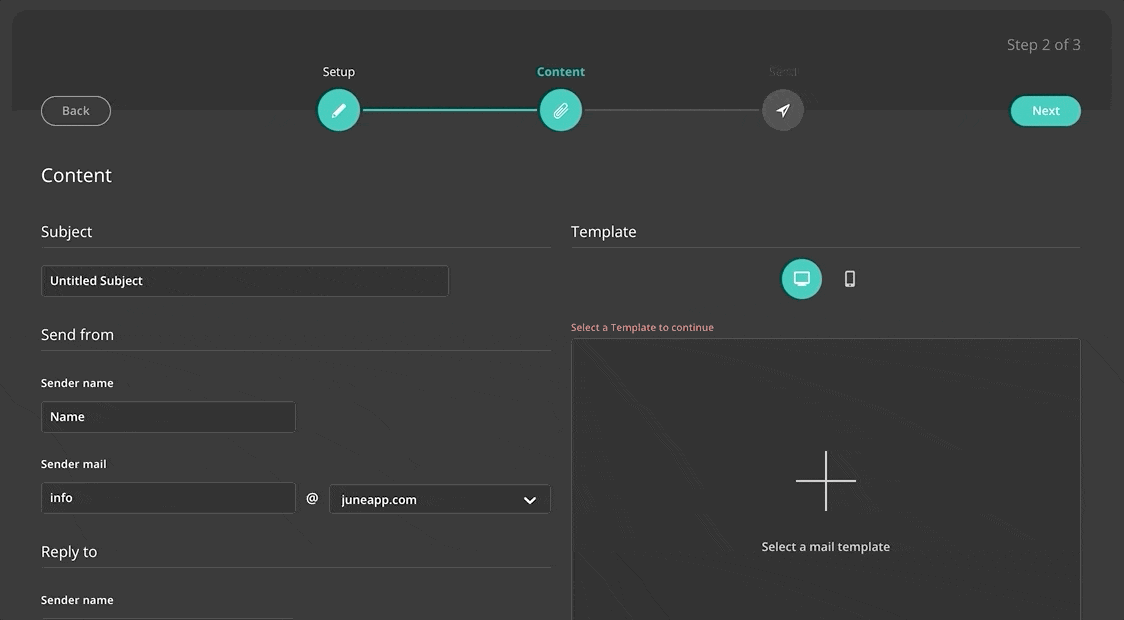
- Make sure that you are finished with the first step 'Set Up'. Then click on 'Next'.
- In the content area, you can enter a subject line.
- Furthermore, enter the name of the person who sends the e-mail and the name of the person who is responsible for queries.
- In addition to the name, the e-mail addresses must also be entered. You can choose between a JUNE domain or an individual domain. If you decide to use your own domain, tick the checkbox 'custom'.
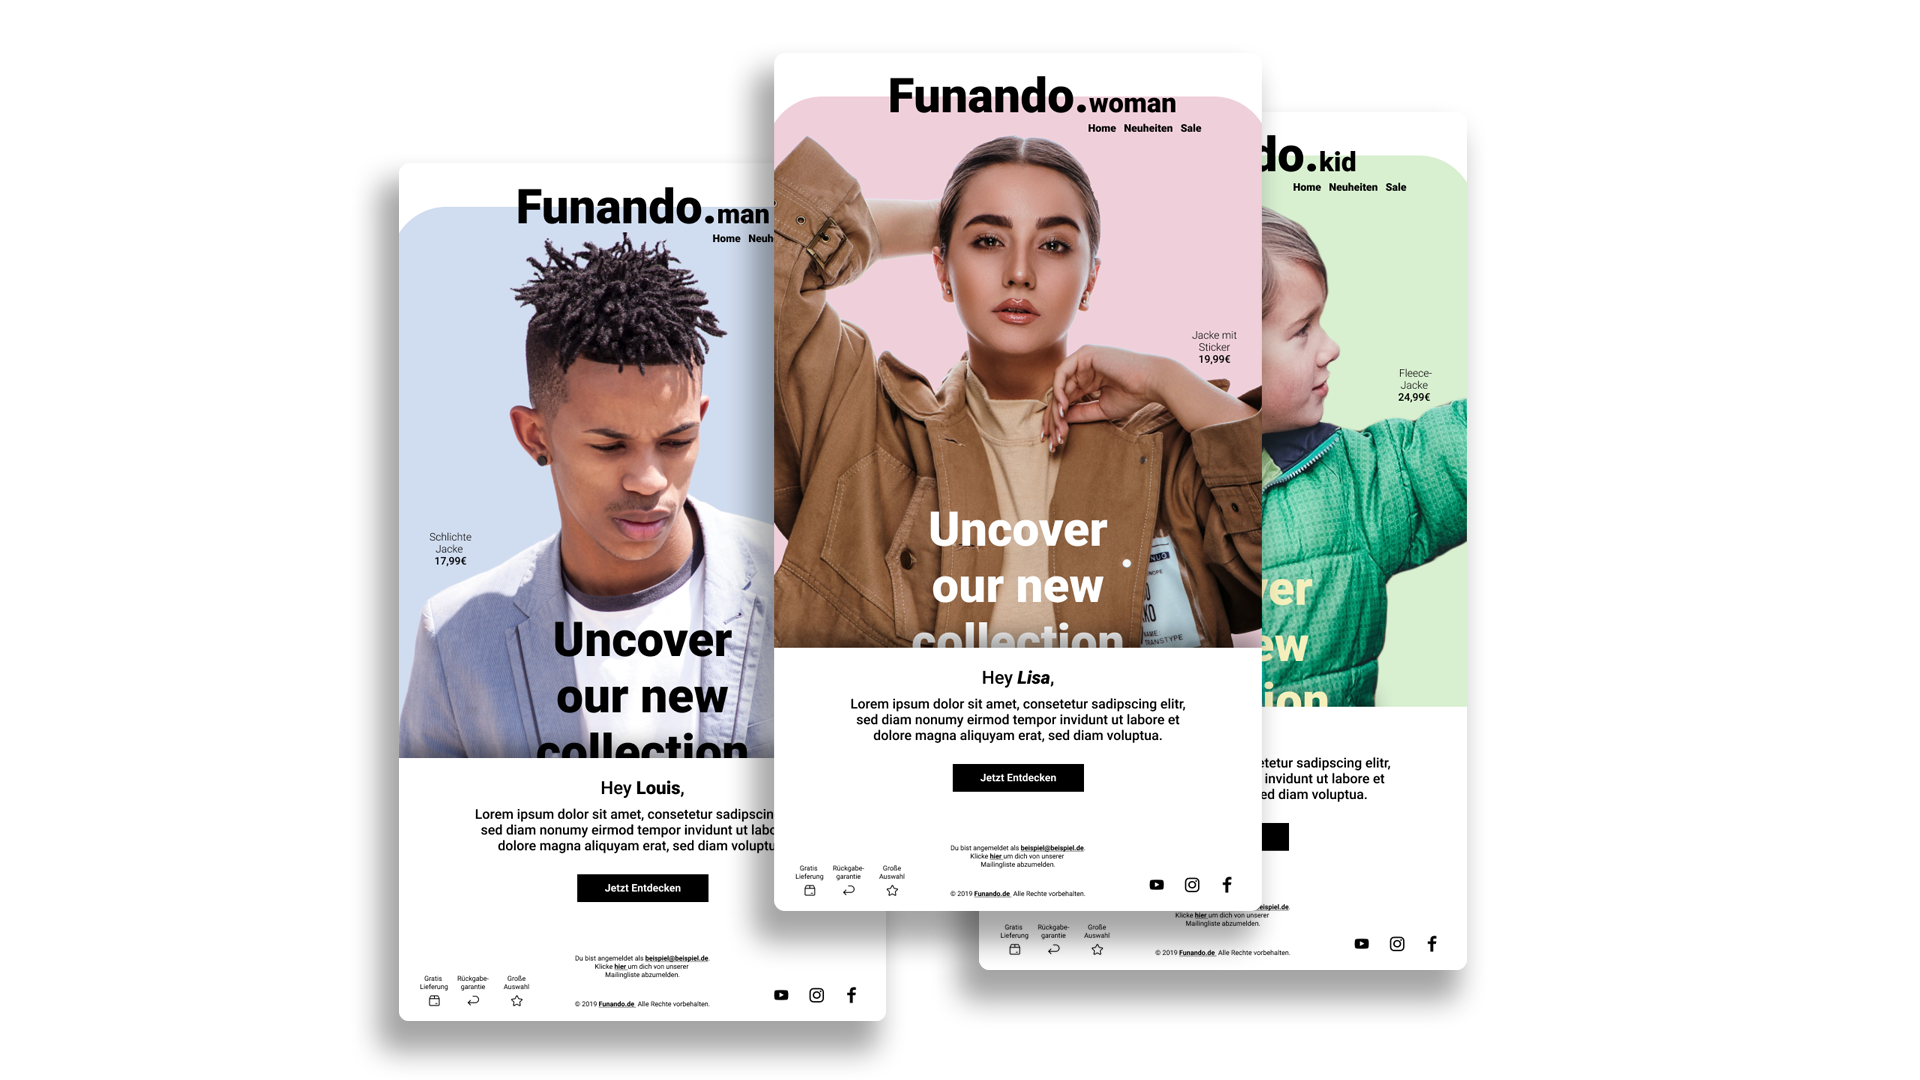
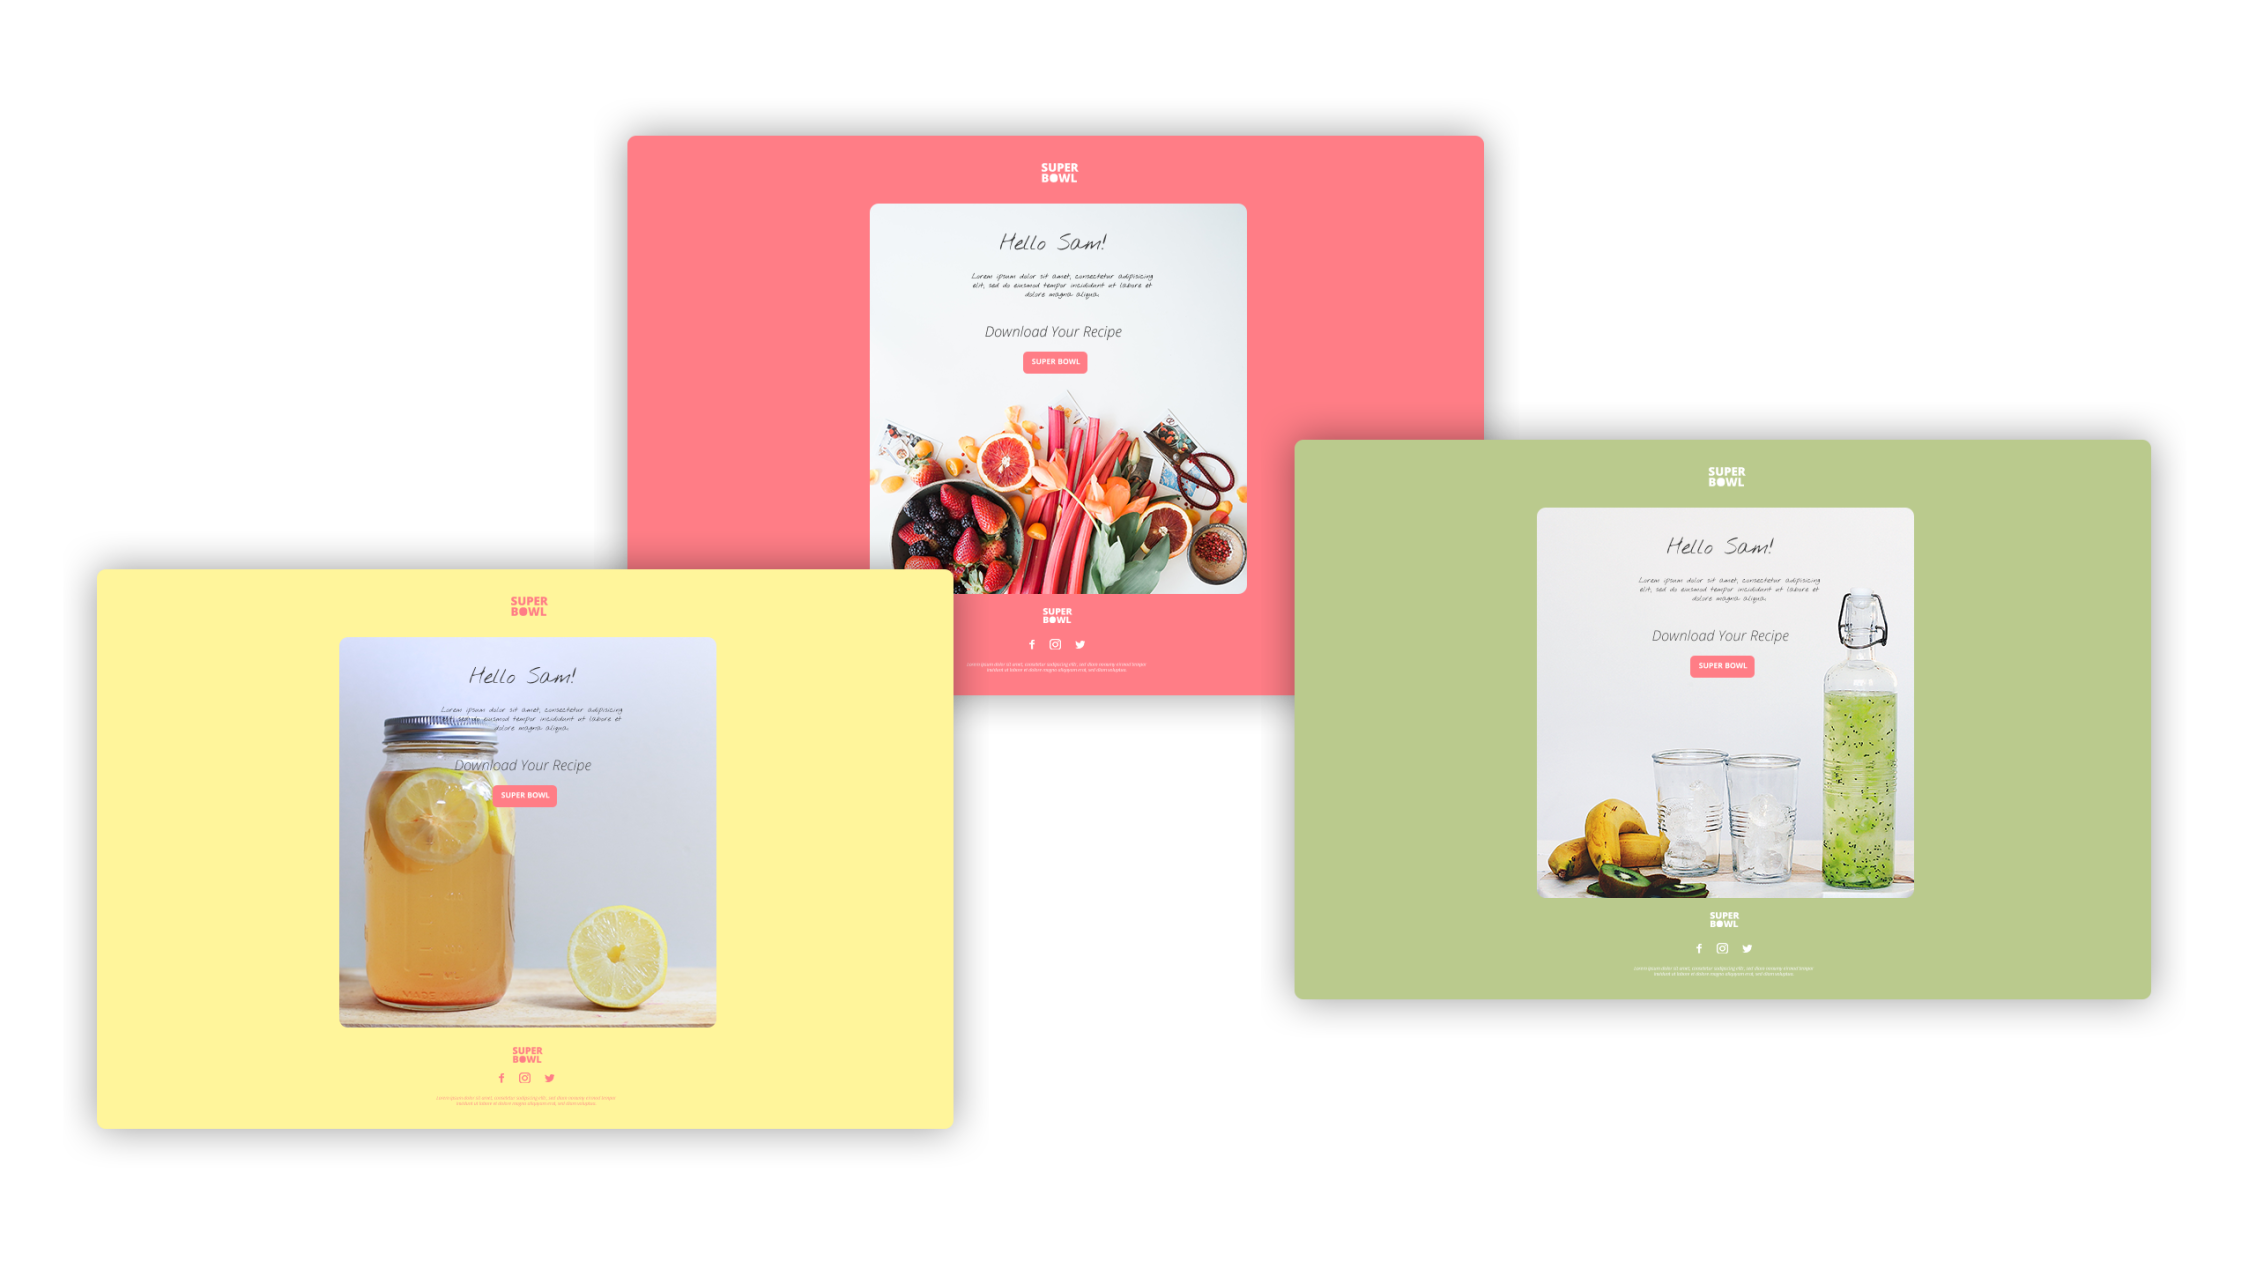
- Click on the + under 'Template'. Now you can select your finished email.
3. Send
Three small steps are still missing until you're ready to send the email campaign. Select a desired date when the newsletter should appear in the customers' inboxes. Authorize tracking for open and click-through rates. Send a test email to make sure everything looks perfect. Once these three tasks are done, there's nothing to stop you from sending your email.

How to
Send Campaigns
- Once you are done with the 'Set Up' and 'Content' steps, now turn to the final 'Send' step.
- Here you will see your previously entered information such as the selected recipient list, the email template and the number of recipients.
- In order to always optimize your campaigns, you authorize the tracking for the opening and click-through rates.
- We recommend you to send a test email to prevent you from overlooking small bugs. To do this, click 'Send Test'. Select an email list to test.
- Now decide whether you want to send the campaign immediately or at a different time. Press 'Send Now' or 'Send Sheduled'. In the calendar view, you can now select the perfect date and time.
Next Tutorial
Automation
In the Automation module, everything revolves around your users. Here, all email addresses are stored, categorized and segmented. Furthermore, fields can be created that make it possible to send personalized newsletters.